Designing Guns for Games: Tips & Tricks
Darío Juárez does a breakdown of his amazing 3d gun and shared some tricks he learned from Ethan Hiley during his course.
Introduction
Hi, my name is Darío Juárez and I’m currently working as a concept artist in an outsourcing studio in Monterrey, México, but for a few years now I’ve been practicing 3d modeling during my free time, this learning process has been mostly self-taught. I recently took a course at CGMA with Ethan Hilley called “weapons and props for games”, I really enjoyed learning each process of this course, and rather than only learning technical instructions, I had the opportunity to test myself, start doing good stuff and take my 3d skills to the next level.
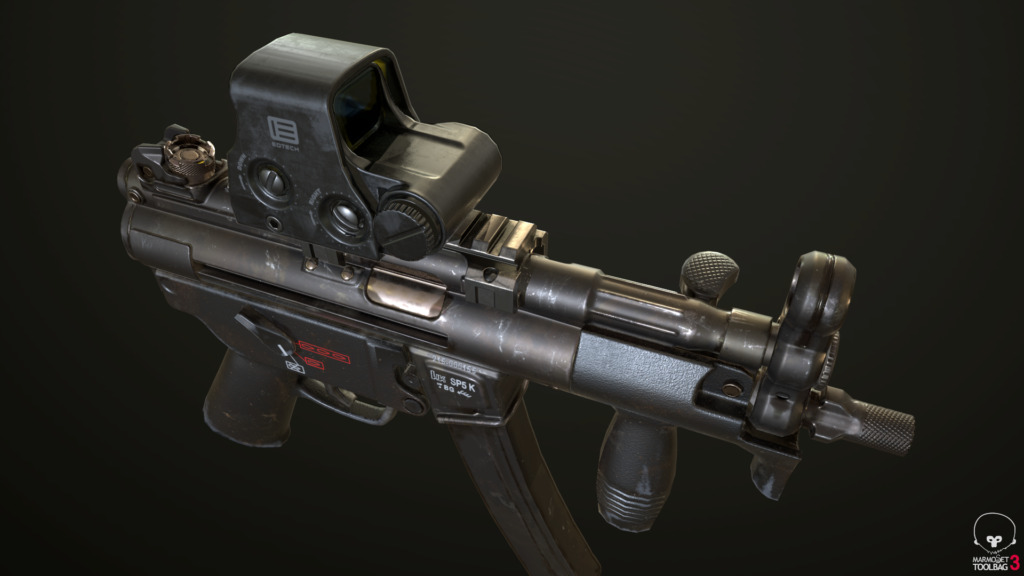
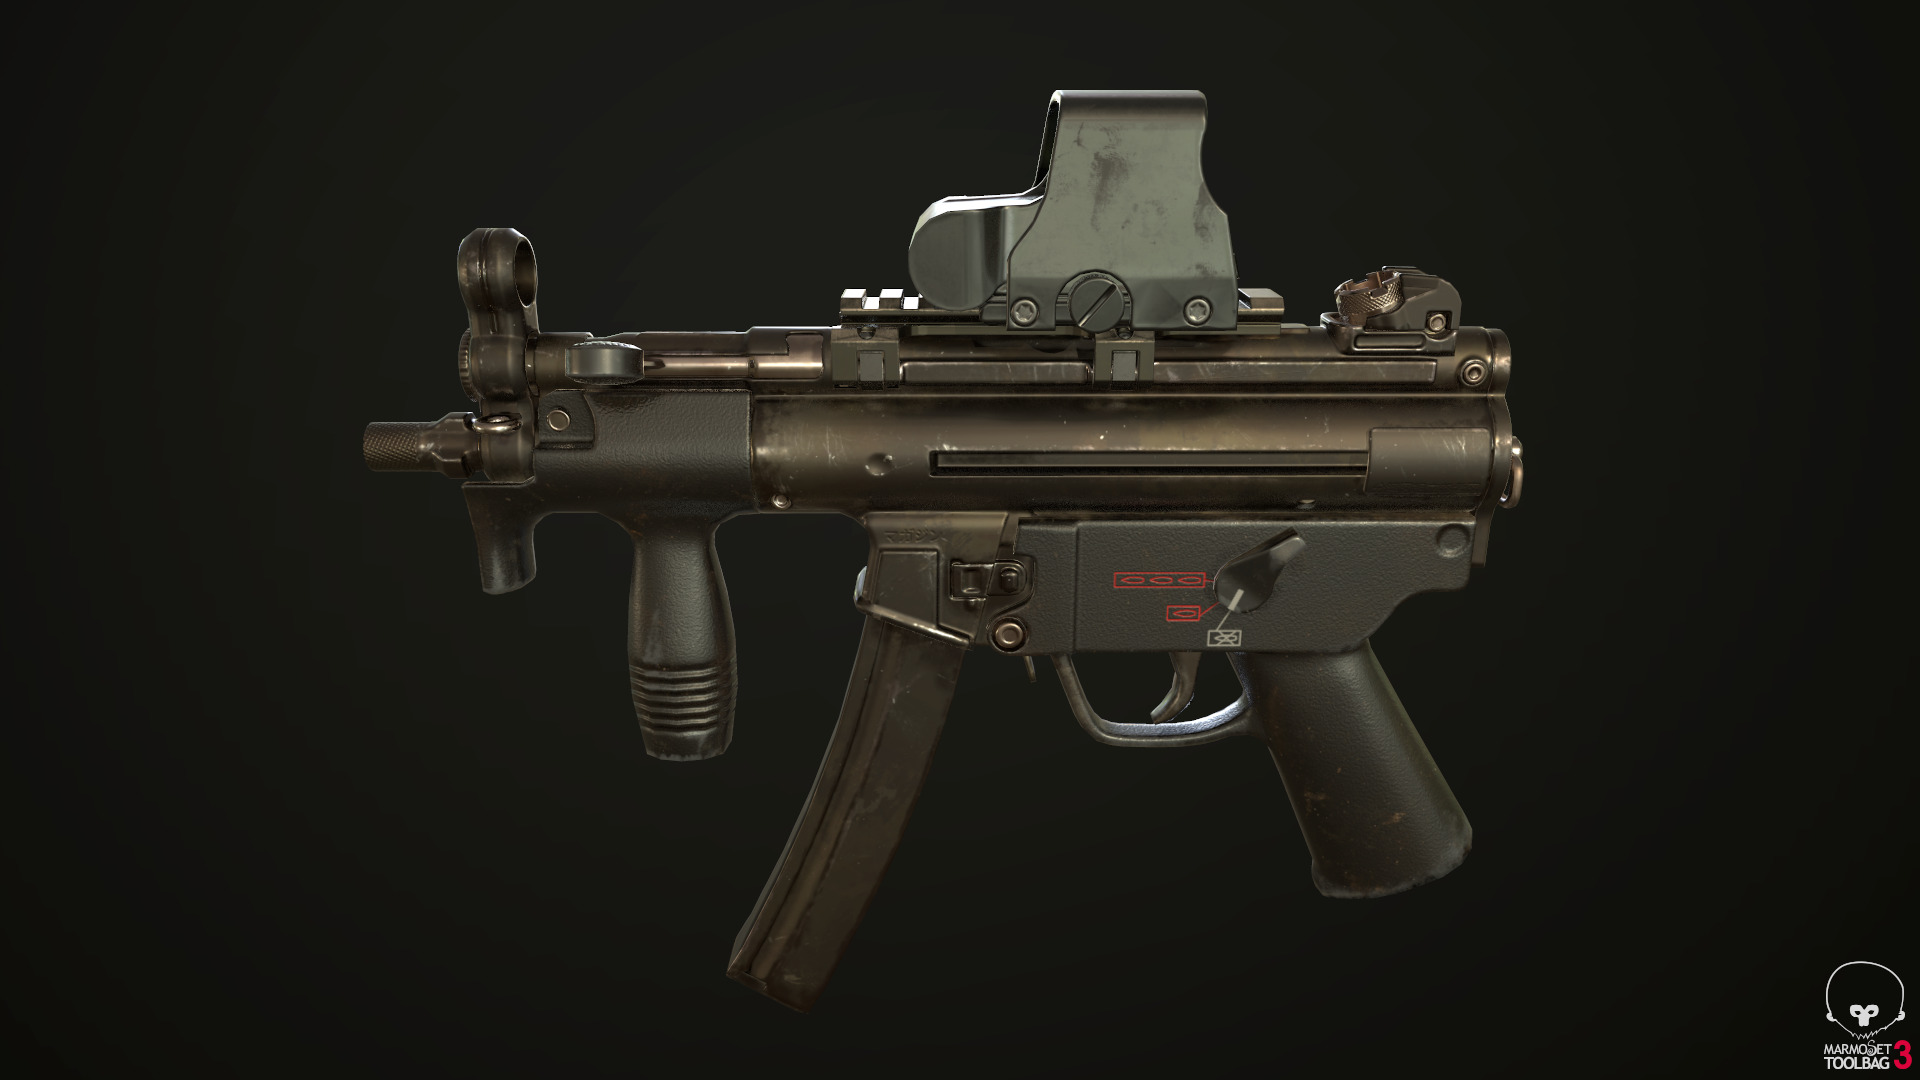
For this course I decided to make a MP5K gun, because I liked its design and also because at the beginning I thought it would be easier to accomplish (but at the end it wasn’t the case). The software I used were Maya, Zbrush, Marmoset Toolbag and Substance Painter to achieve the final look of the gun. I felt very comfortable with the workflow Ethan taught us and I’m glad to share a little bit of what I learned from this course.
Modeling
My first task started by gathering a lot of references from many sources, including google searches and youtube videos to check the gun’s functionality, this process assures each detail of the gun has a clear view. It’s very important to take enough time in this process to make the next steps much easier.
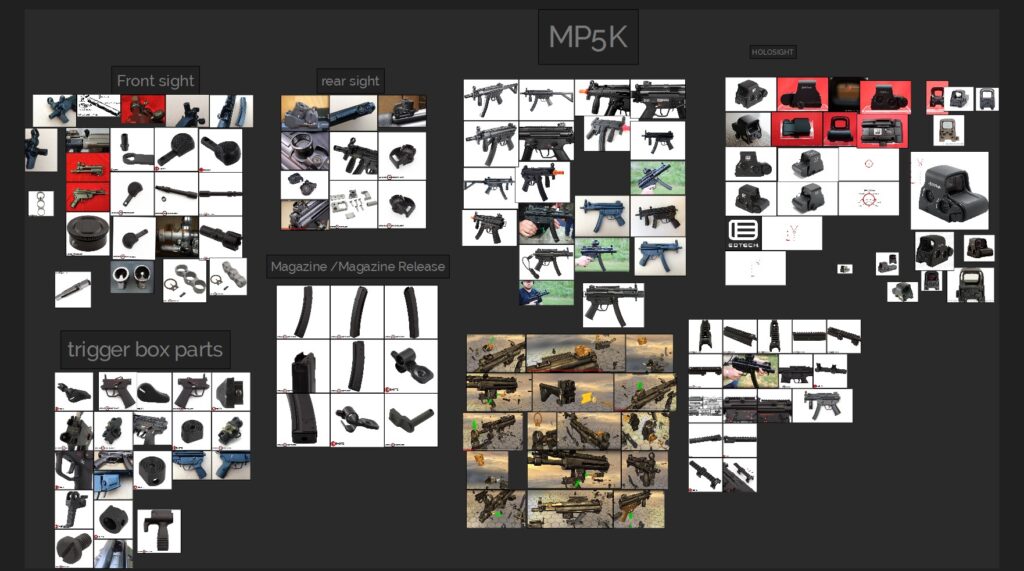
It’s very useful to learn basic anatomy of a gun to make more specific searches, this makes it more efficient. For example, it’s not the same to search -MP5K gun- than -mp5k threaded flash, the results won’t be as useful, so being more specific makes it easier.
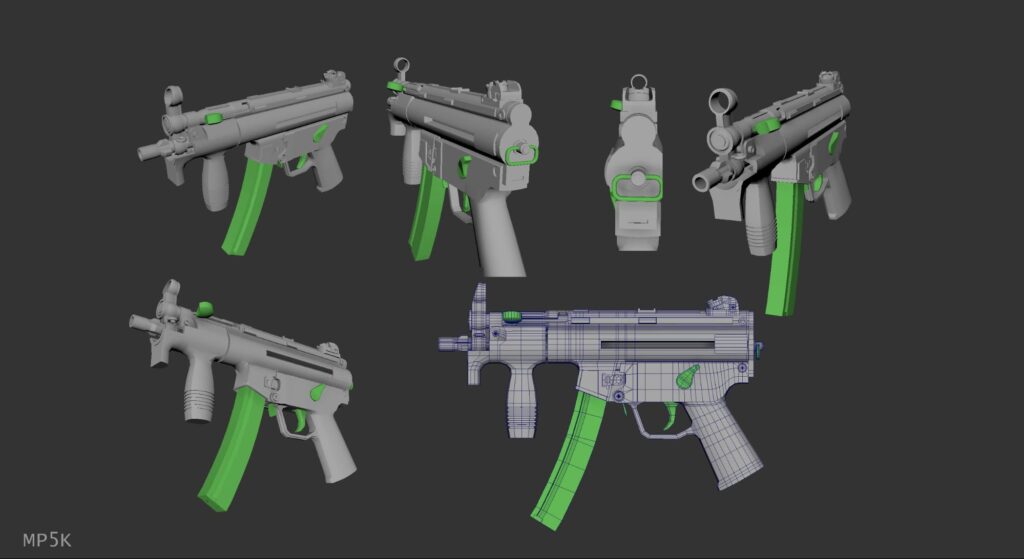
Once I have enough references, I can start with a block-out mesh in Maya, always having the reference board handy and working with very basic shapes. This block-out can have several purposes, the first one is to get a general view of the form and scale of the weapon and also to be able to fix some proportion errors quickly, and the second is to give animators a fast model which they can use to start testing a rough animation.
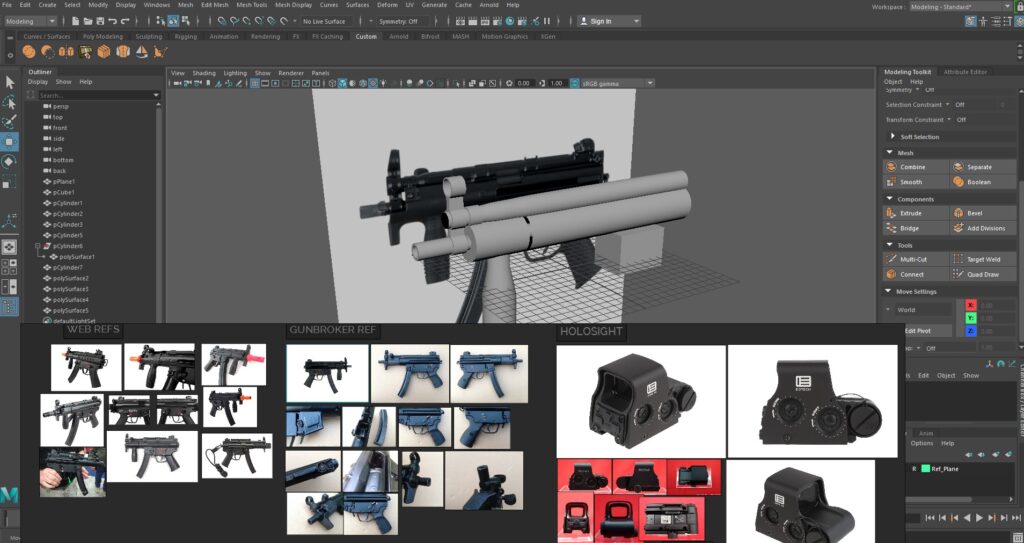

After the block-out mesh, I prepare the mesh to start working the high poly model. As it’s not so necessary to be clean in this process before going to zbrush I use a lot of booleans, but finally it depends on you to decide the best way to resolve the model. Your own modeling style is decided here, so that’s why I like this process a lot, and also it’s about becoming efficient at the moment of solving the mesh.
Once I have the shape clear, the next step is getting into Zbrush.
Detailing
HIGH POLY
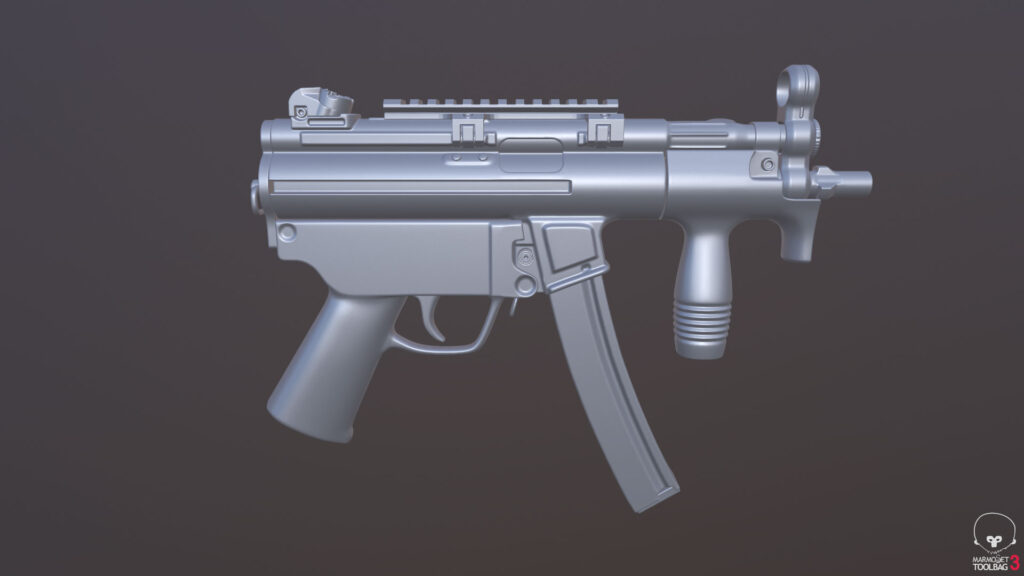
As we don’t want the gun to have perfectly hard edges but a subtle and nice smooth surface I used zbrush to do that in an simple way. There is a huge set of tools that helps the model look amazing using smoothing in Zbrush. I used the dynamesh tool to provide a nice and uniform smooth to the surface model.
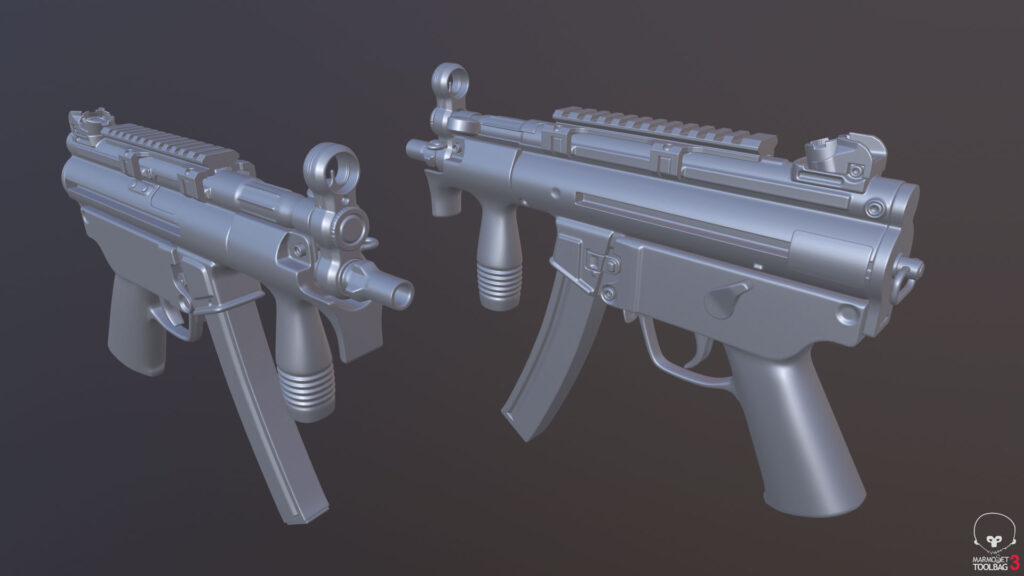
This subtle smoothing makes the model look more “realistic” and believable.
A quick explanation of the process would be:
> Import > obj mesh
> geometry > subdivx4 > deleteLower
> Dynamesh >resolutionx900 (This can change) >Dynamesh
> Deformation > Polish> Rellax
> Zplugin > Decimate%20
> Export
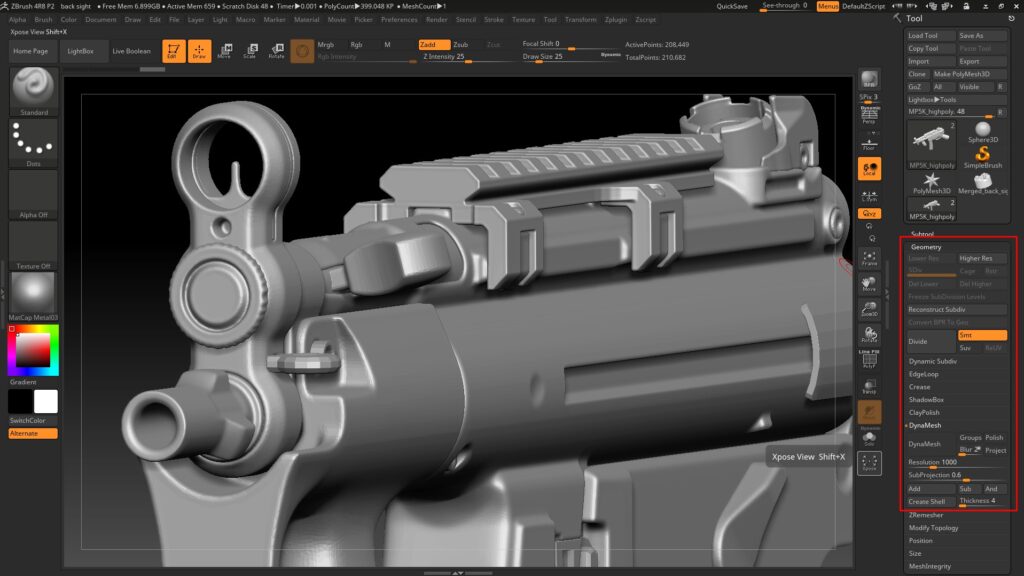
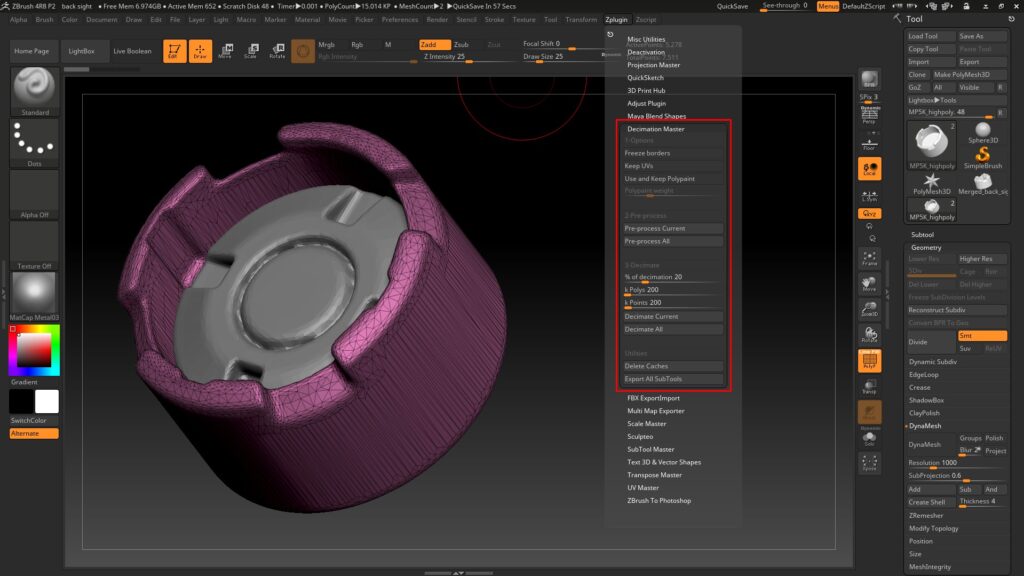
I have to say that this process is not necessary for all pieces of the model, for example the bolts, those can be smoothed in Maya and that’s enough.
LOW POLY
For the low poly I have already solved almost everything, so I can recycle the Maya model, it’s just to simplify some pieces and redo other ones.
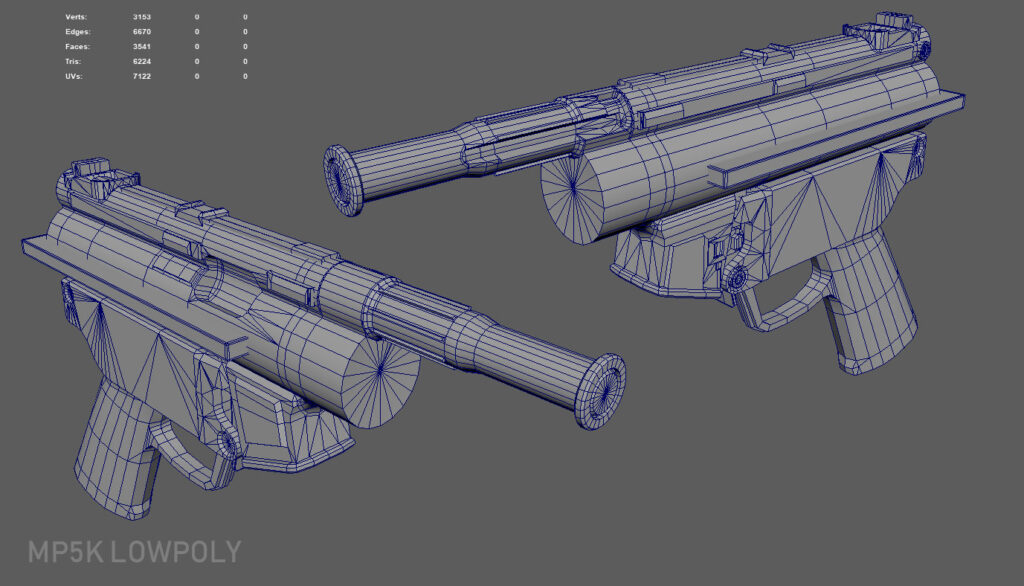
What we have to keep in mind about working in the low poly is the player’s view. It’s true that the new console generations allow a higher polycount, although we have to be aware about the correct distribution of the mesh density. That means that as the part of the back sight is the nearest piece to the player’s view, we have to be careful with how this area looks.
Unwrap
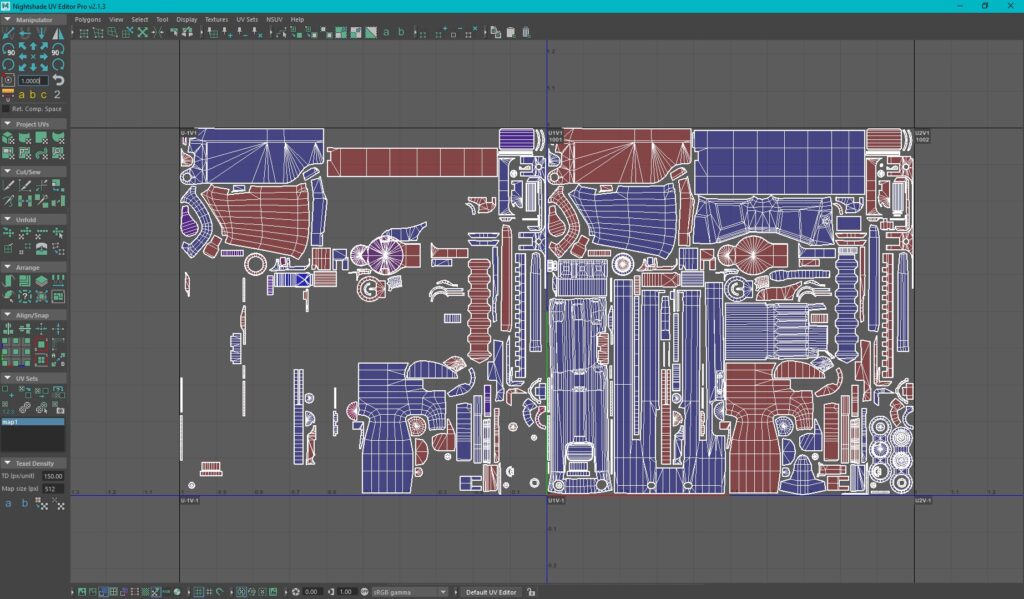
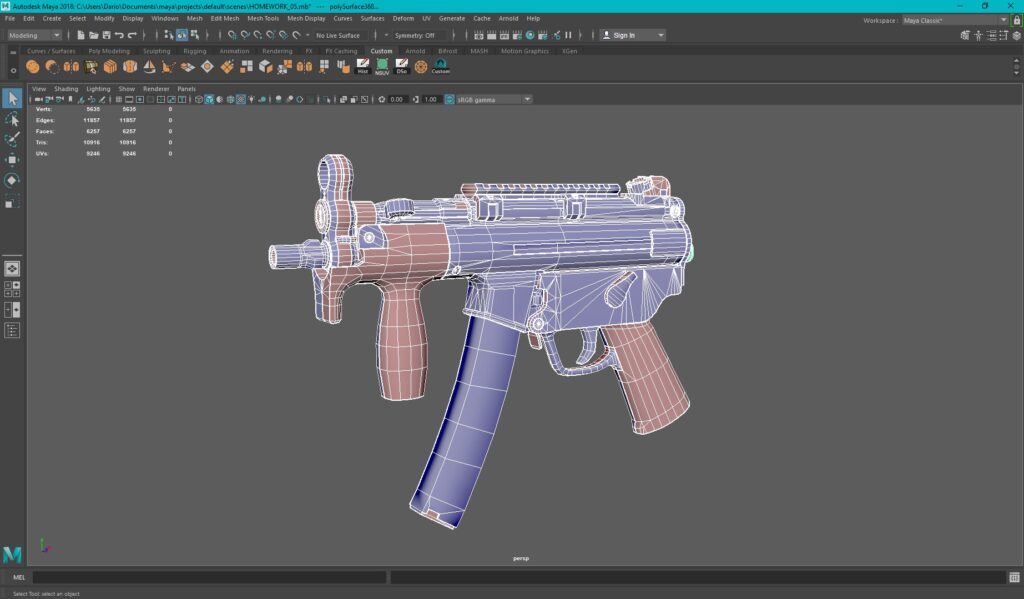
Ethan recommended us to use night shade uv editors for Maya, this plugin is simple and brings the facility to control texel density. This is very important because 4K textures still demand many engine game resources, the maximum resolution used for textures is about 2048X2048, and it’s essential to take advantage of all the space available on our texture editor.
Baking
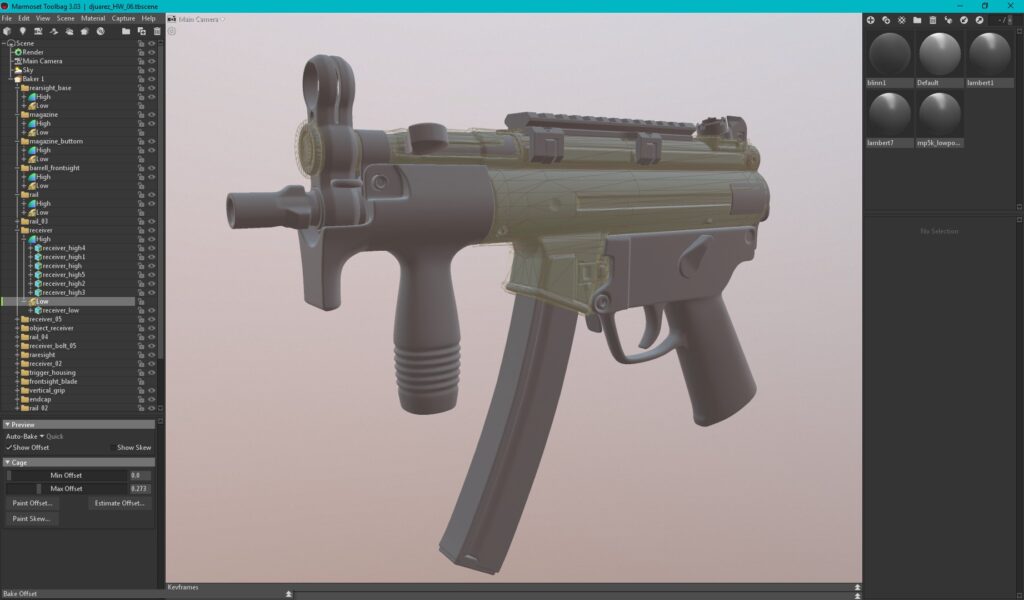
Marmoset Toolbag 3 has an awesome baking tool that makes this process really simple. All you need to do is to pay attention to the correct nomenclature of each piece of both, low and high poly.
Using the extension “low” and “high” for the key pieces, the software will recognize and arrange both models. The better you organize your model, the better is its performance. But, this can be better explained in this article.
After I have the model organized, I can bake all the maps needed, for this case I did the Normal Map, AO and Vector color.


Materials
For texturing I used Substance Painter and a bit of Photoshop for creating decals.
These are the kind of details that are better to solve directly on substance painter rather than solving with geometry, because it has a non-destructive layer system, which allows me to add a high frequency detail just with a simple height layer, and it can be edited as much as needed.
A good point to take in mind is to contrast materials. At the beginning, I made all materials shiny and with similar colors because I thought it looked awesome but that’s not always the best way to solve it.
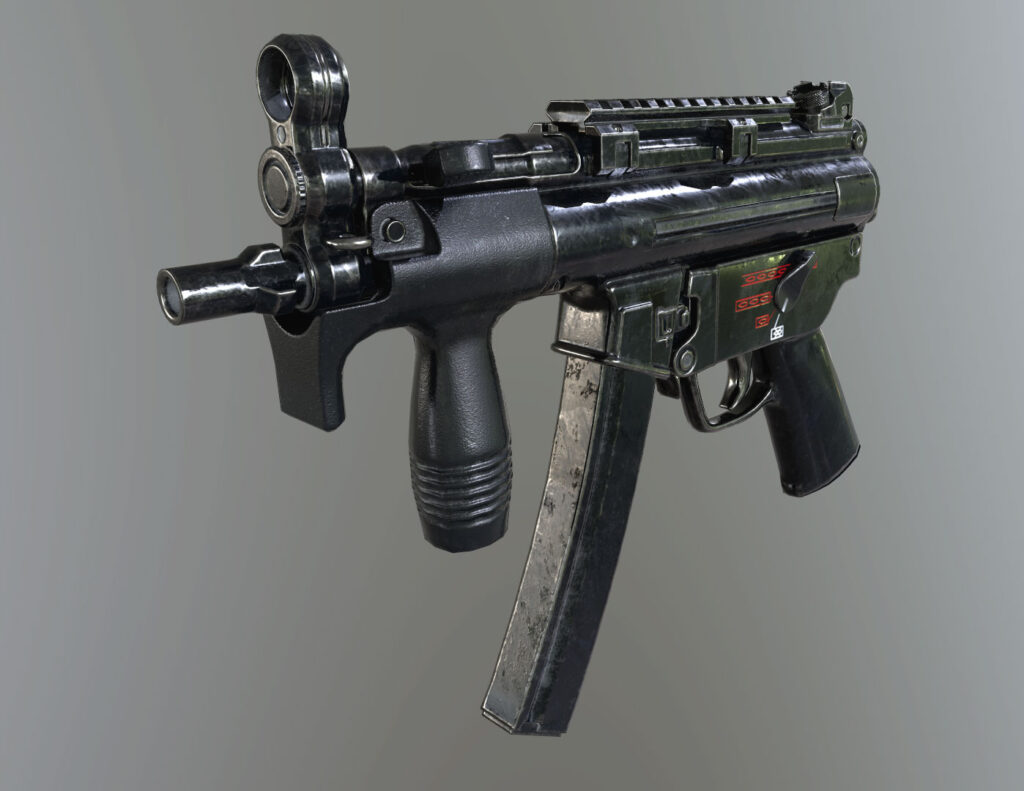
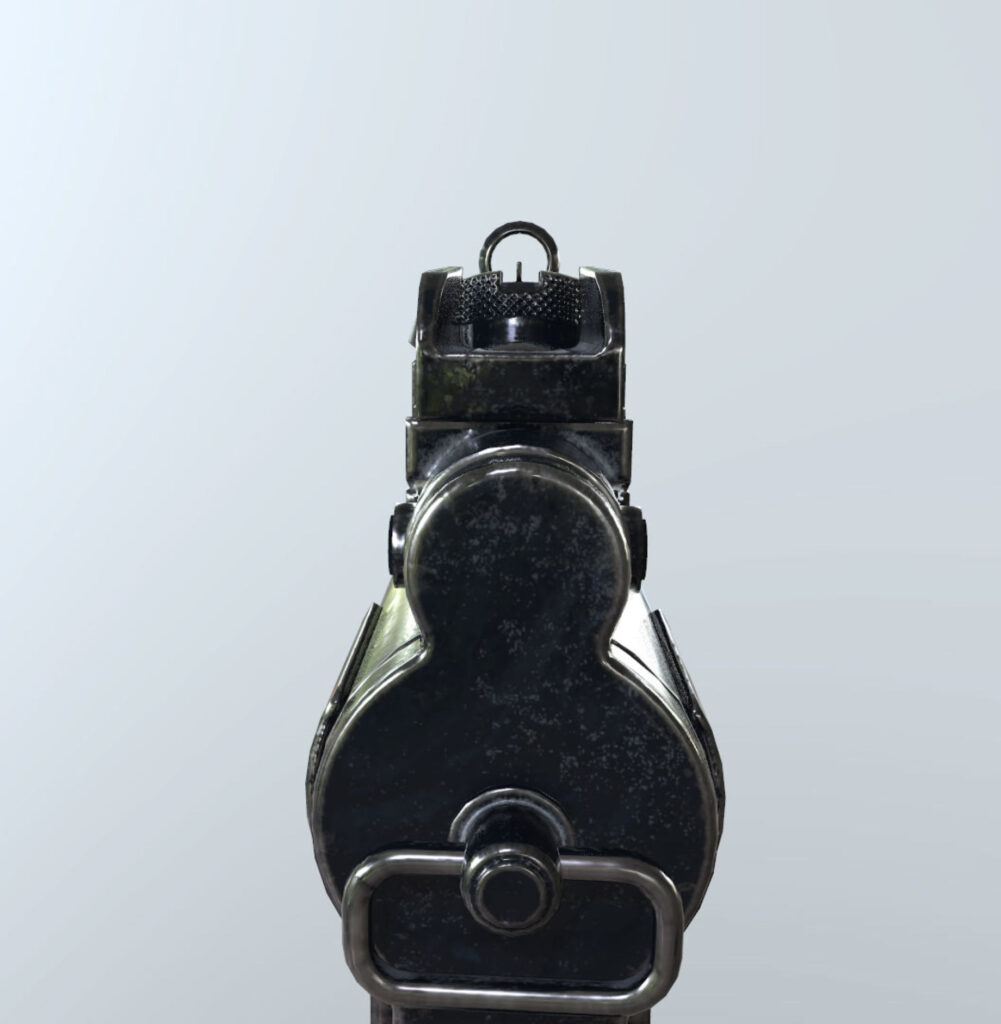
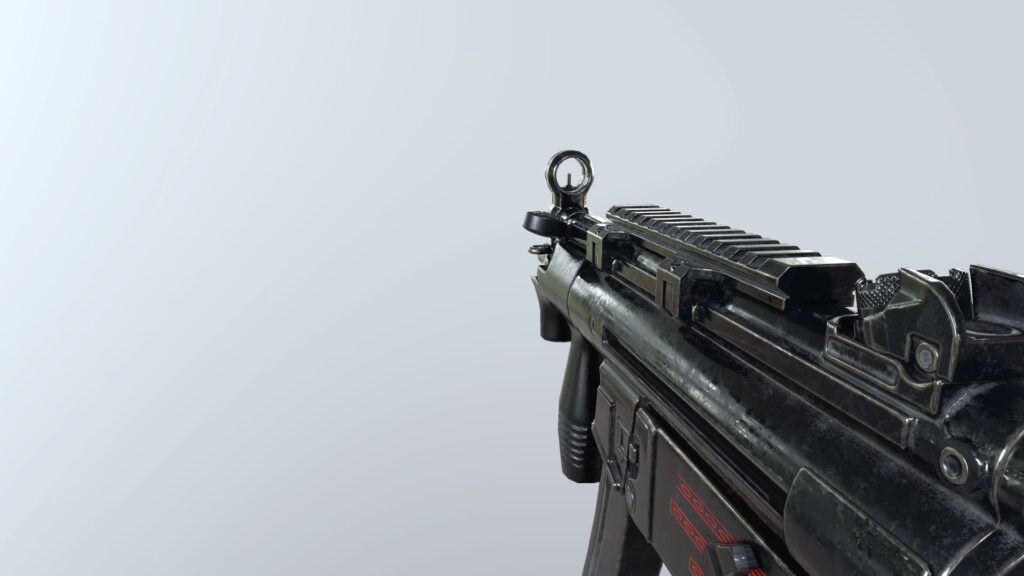
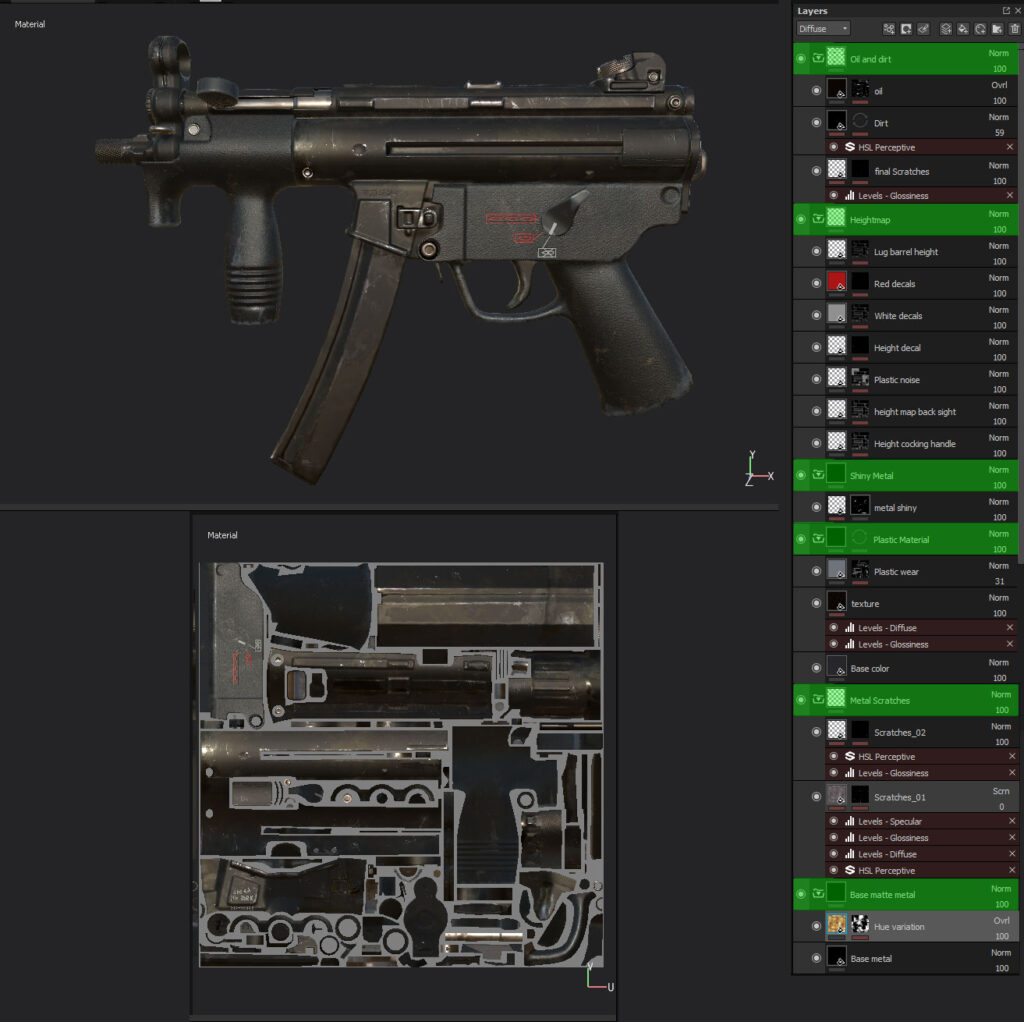
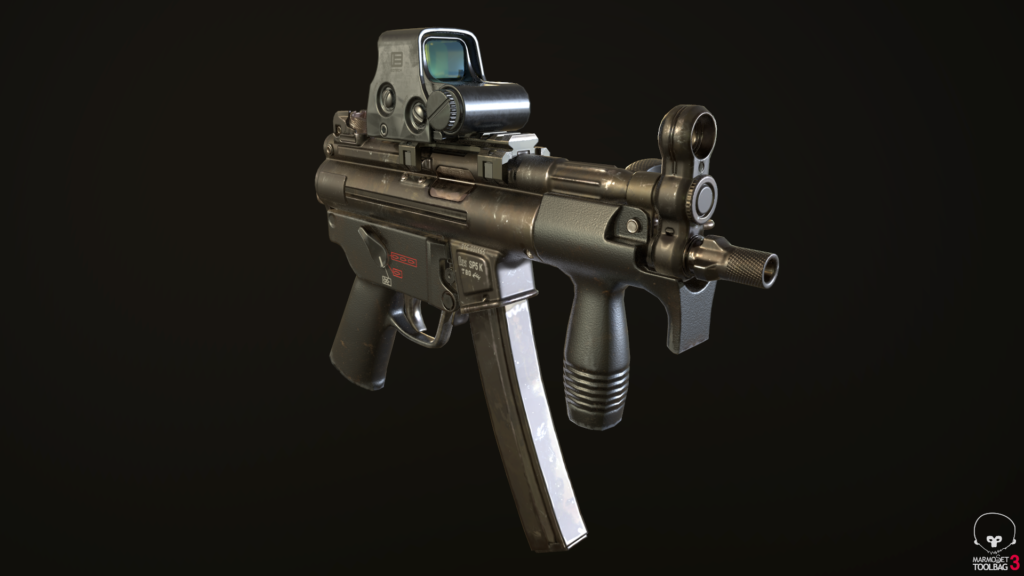
One important lesson I learned during the course was to be subtle, it’s easy to over-detail our model with unnecessary textures and lose the focal point, so it’s not necessary to make all the hard edges clear. To control this, I take a look at several references and try to guess how the time or the use has damaged this gun, because by the texture you can guess what has happened to the object and tell a story through it.
Rendering
For rendering I used Marmoset Toolbag, and once I have all textures exported from Substance Painter I just need to set the materials in marmoset and drag the textures to the correct box of the material’s module.
Sometimes normal maps look weird, but they can be fixed by selecting “flip Y” in Normal box
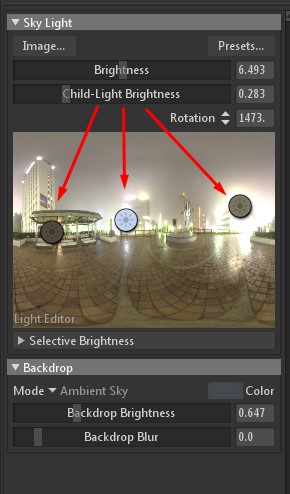
By default, Marmoset lighting looks good but it would look better by adding few “child-lights”. I don’t use more than 3, and normally it’s to establish a nice rim light, using an opposite color of the general temperature of the scene. But carefully, over exposing the light could make the model lose information.
An easy way to correct exposure of our render is by using the Main Camera module: color>Tone Mapping>Filmic, this fixes any overexposure issues. Additionally, in the same module I like to add some Sharpness. This makes it look better.
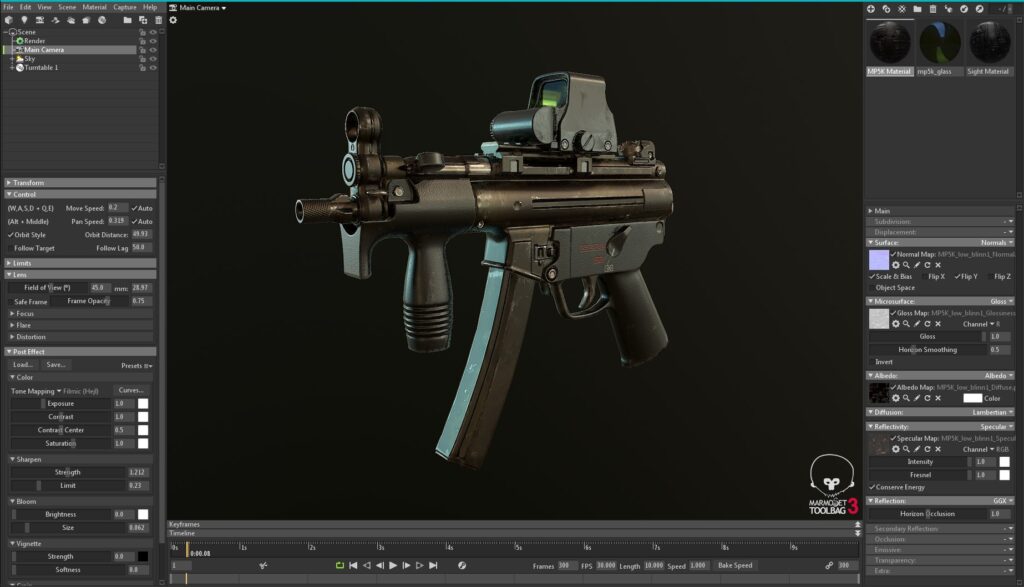
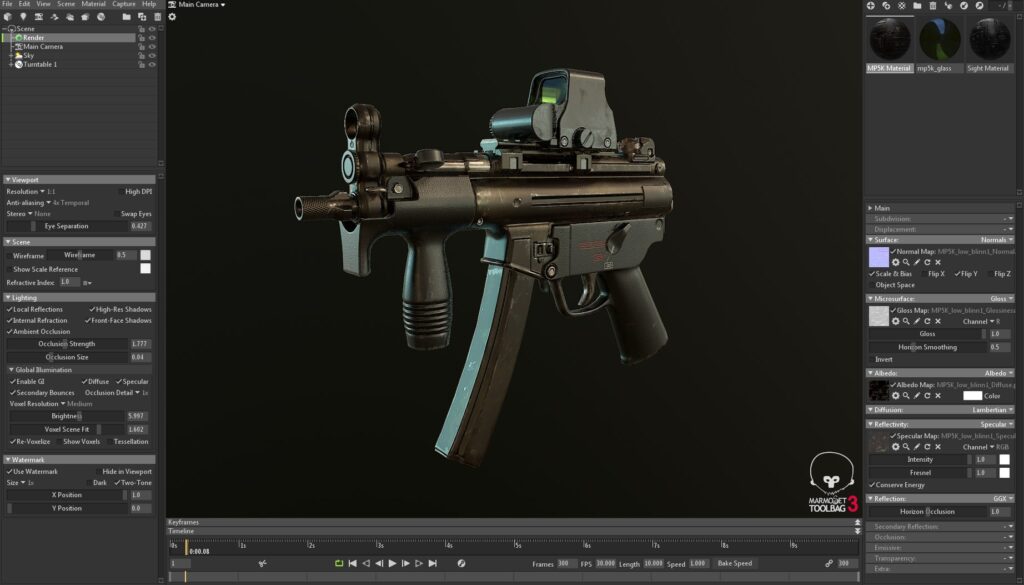
Finally, in the render setup I check all the lighting options boxes, but be careful because checking all this marks could demand a high performance on the system. Now it’s time to take some nice captures and upload it to Artstation directly from Marmoset.
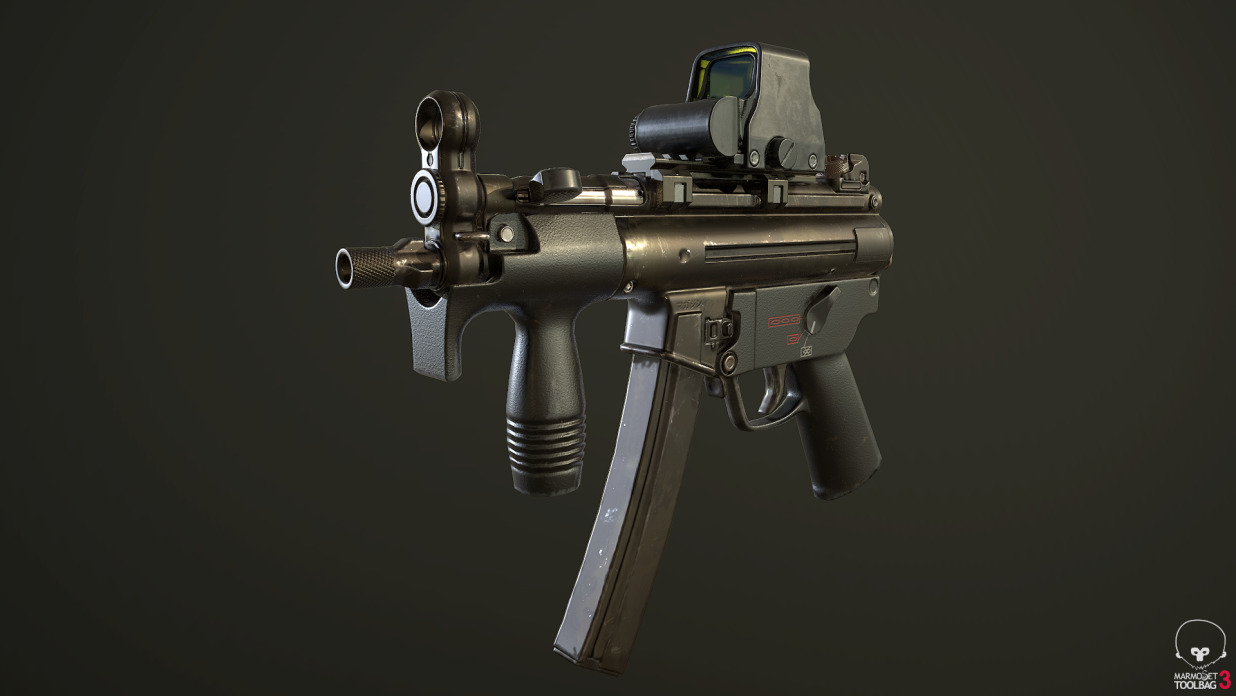
About post-process, I don’t like to add any effects like smoke, fire, glow, or chromatic aberration, I don’t think it’s wrong, it’s more of a personal preference. My main goal is to show a clear model and post-processing could be a distraction.


