Setting Up a Tiger's Nest in UE4
Check out a little writeup from Yulu Xue, where he shared some of the techniques he learned during the recent CGMA environment production course.
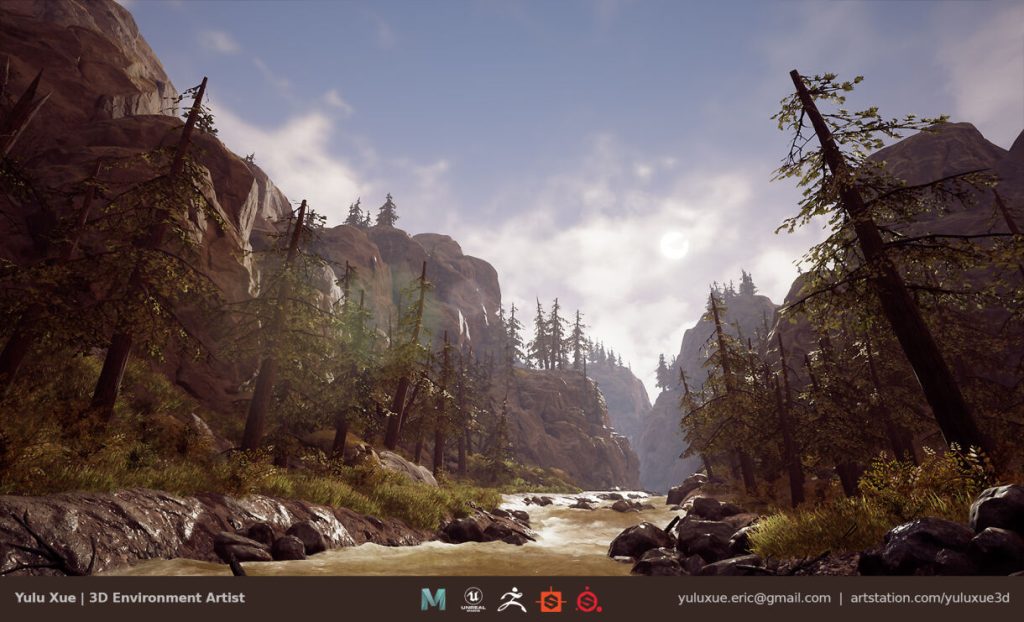
Intro
My name is Yulu Xue. I’m a 3D artist living in Toronto, Canada. I’ve been worked on various types of games on multiple platforms in the last couple of years. Titles I worked on including Fragmented, Snowboard Party 1 & 2, and BBC Top Gear: Drift Legends.
Before I took the course, I mostly worked on hard surface models and city scenes. I really want to step out of my comfort zone and expand my skill set. Special thanks to my wife who paid for the course as a birthday gift to me. Best gift ever!
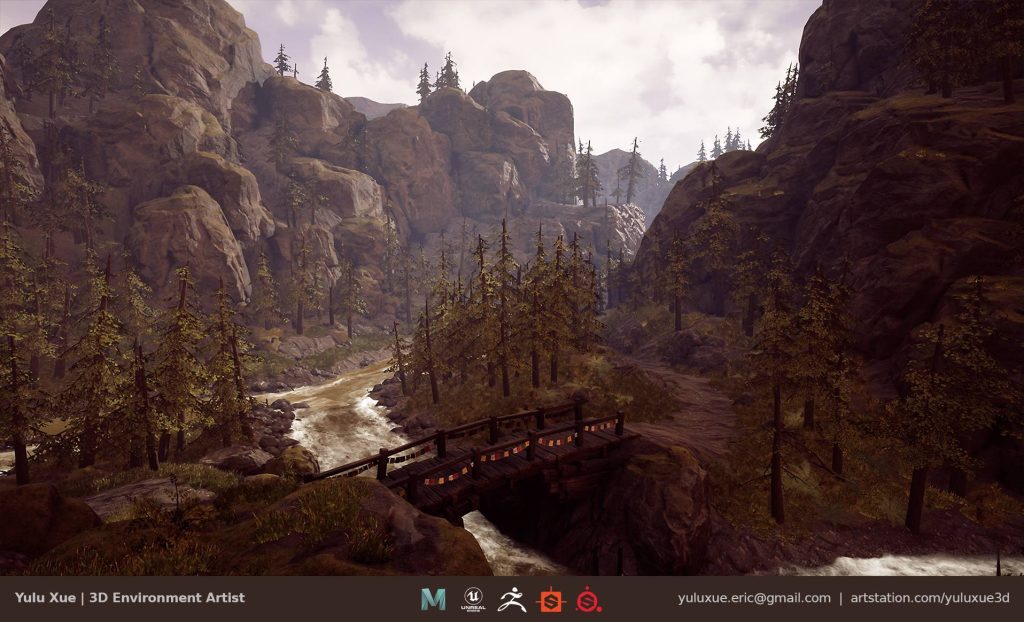
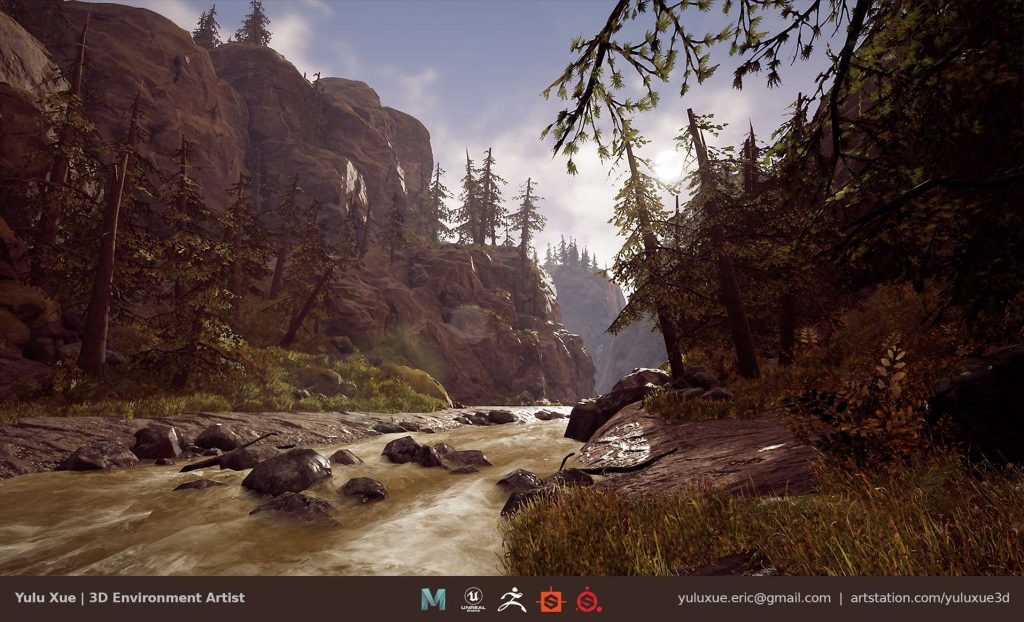
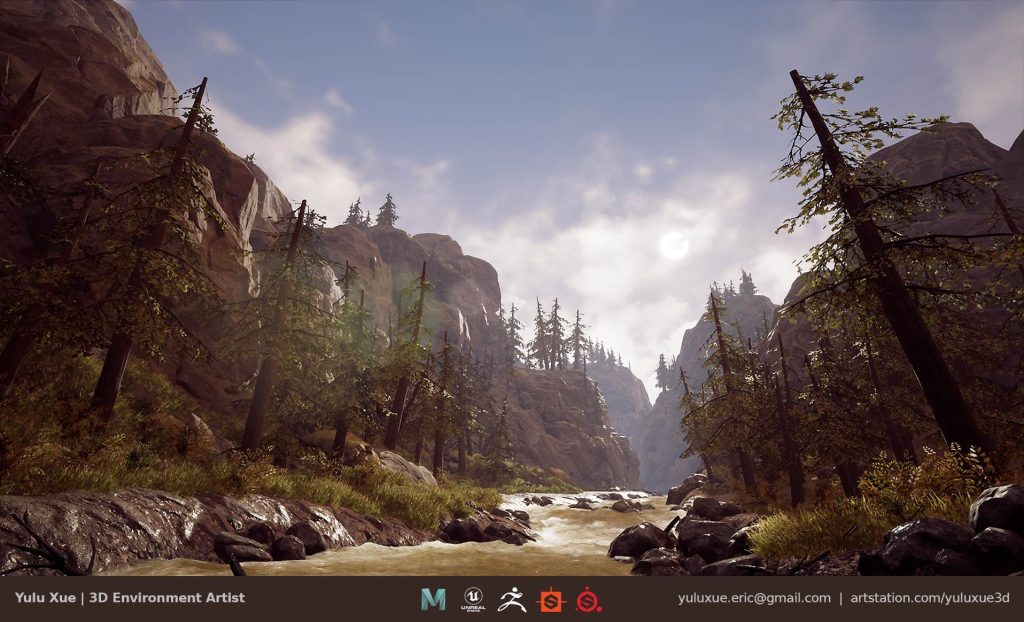
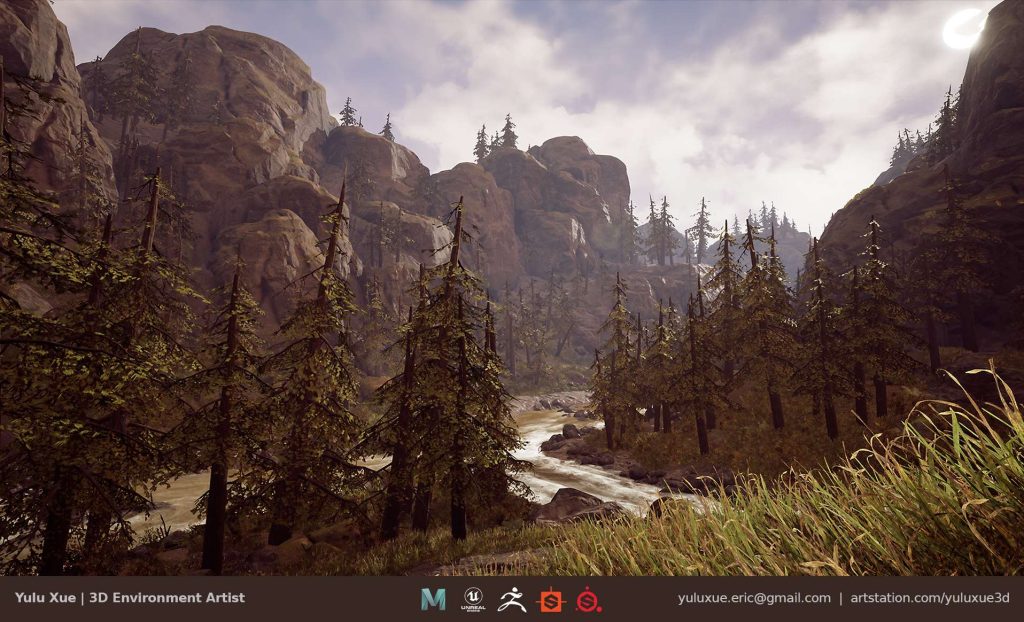
Production Process
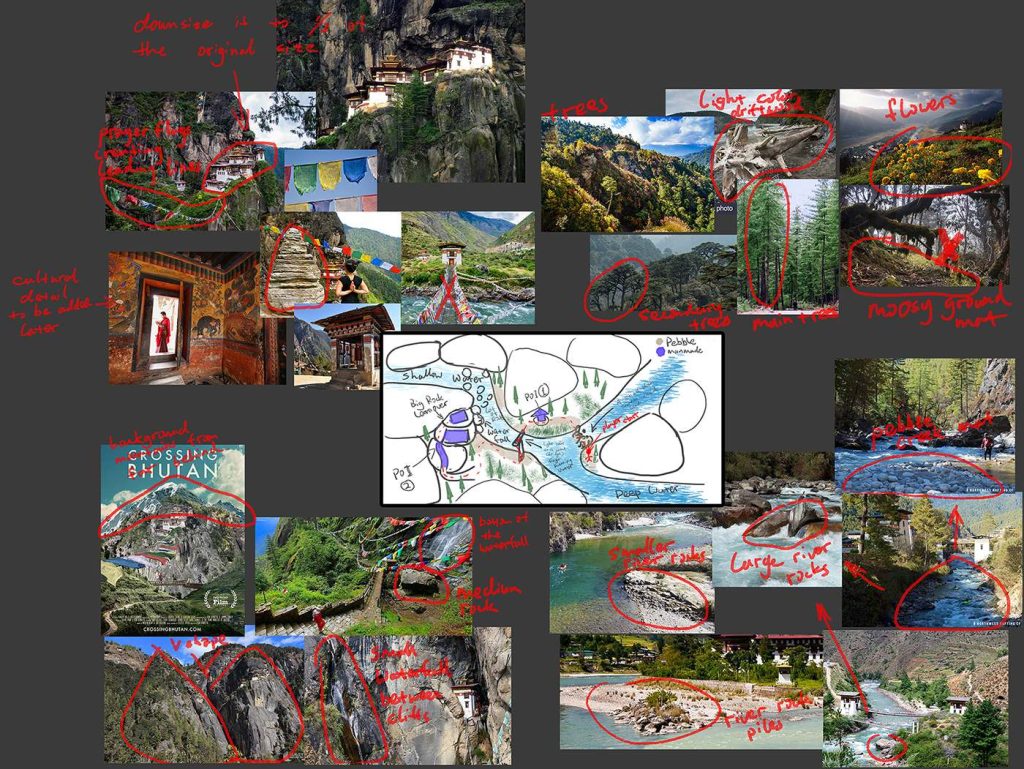
The project started from gathering a bunch of references and broke them up with the PST method Anthony Vaccaro introduced during the first week of the course.
I made a blockout scene in Maya with some very simple geometry, based on a very simple (nasty) 2D map I drew. With the help of the blockout scene, I had a rough idea of how big my scene would be and how many assets might need to fill it up. An asset list was made to help to track the time used on each asset and the progress of the project.
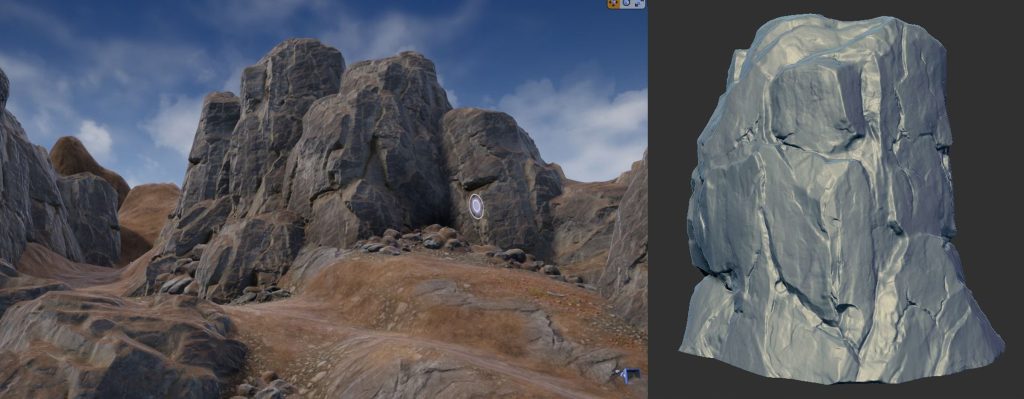
Modularity is king. It applies to the organic world as well. Given the time we had for the course, I made 1 hero rock, couple smaller boulders and set up rubble piles. The models were done in ZBrush and brought to Maya and Substance Painter for UVing and texturing.
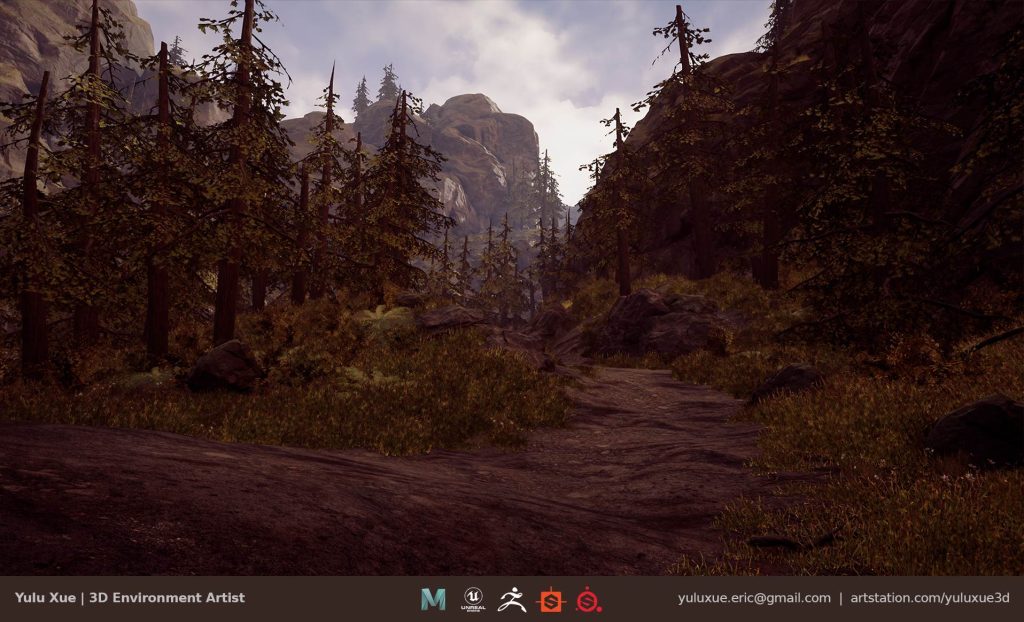
I worked on the “land” space after placing the blockout meshes into the UE4 scene. The landscape system in UE4 is powerful and easy to use. Anyone who has experiences with sculpting software solutions will get used to the tools within UE4 very quickly.
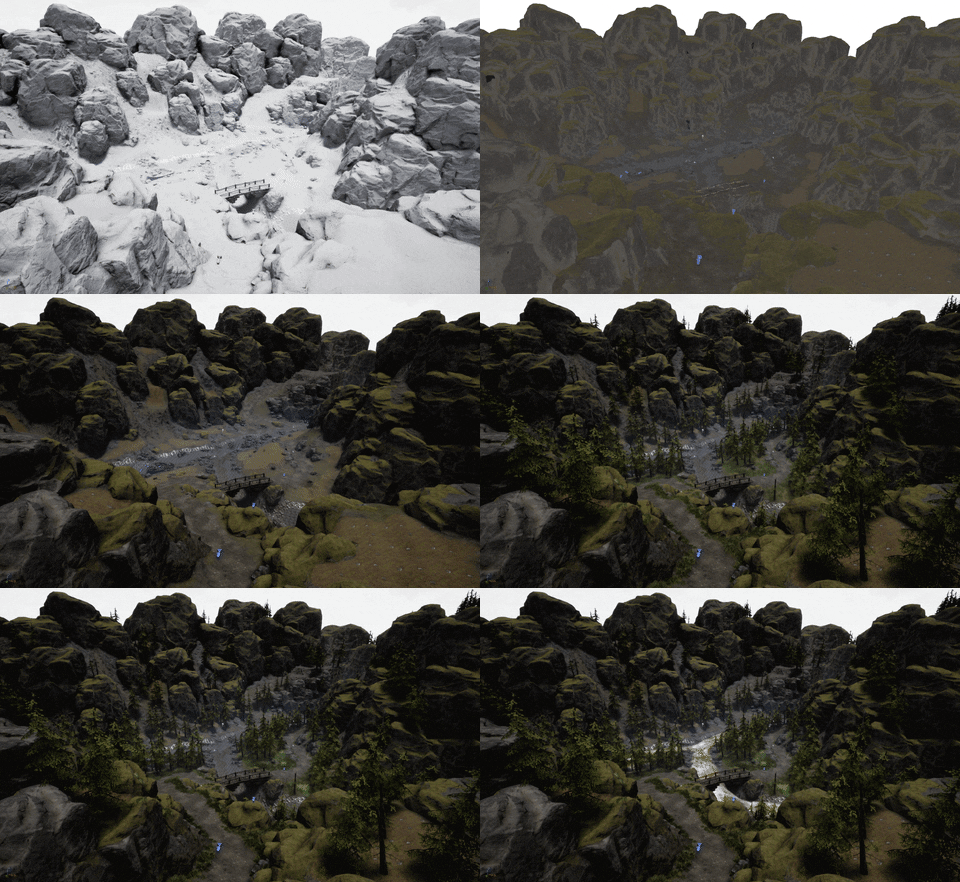
I tried to keep the scale of the scene relatively small. To get the scale right, I used a human model as my scale reference when I make my blockout scene. Therefore, I didn’t need to worry about the scale in UE4 too much later on.
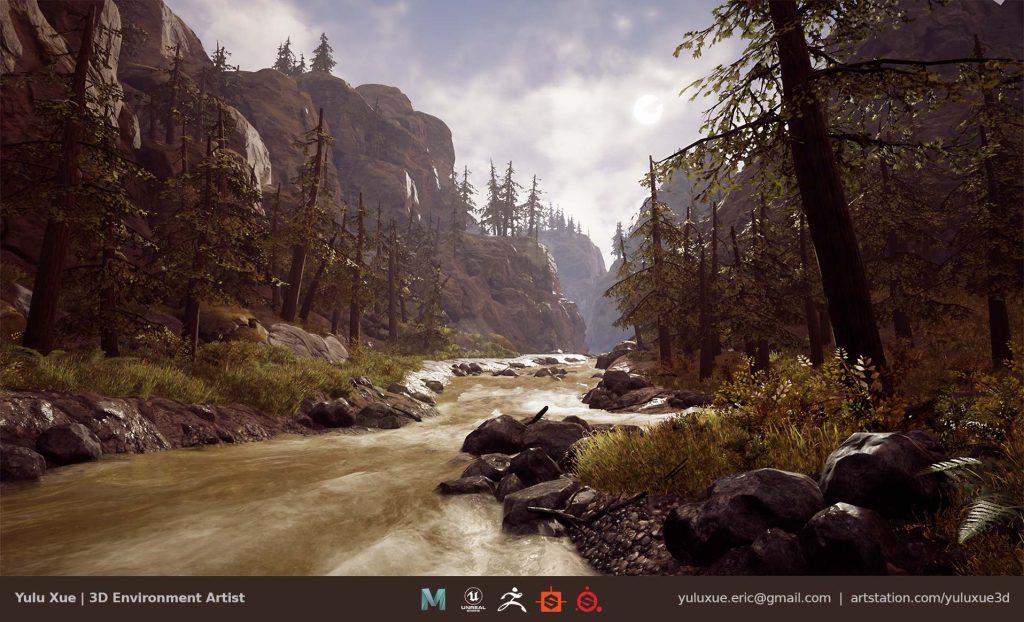
I used a plugin for the water called River Water Tool with Flow Buoyancy by James Stone, since crafting a running water material could take me days (months).
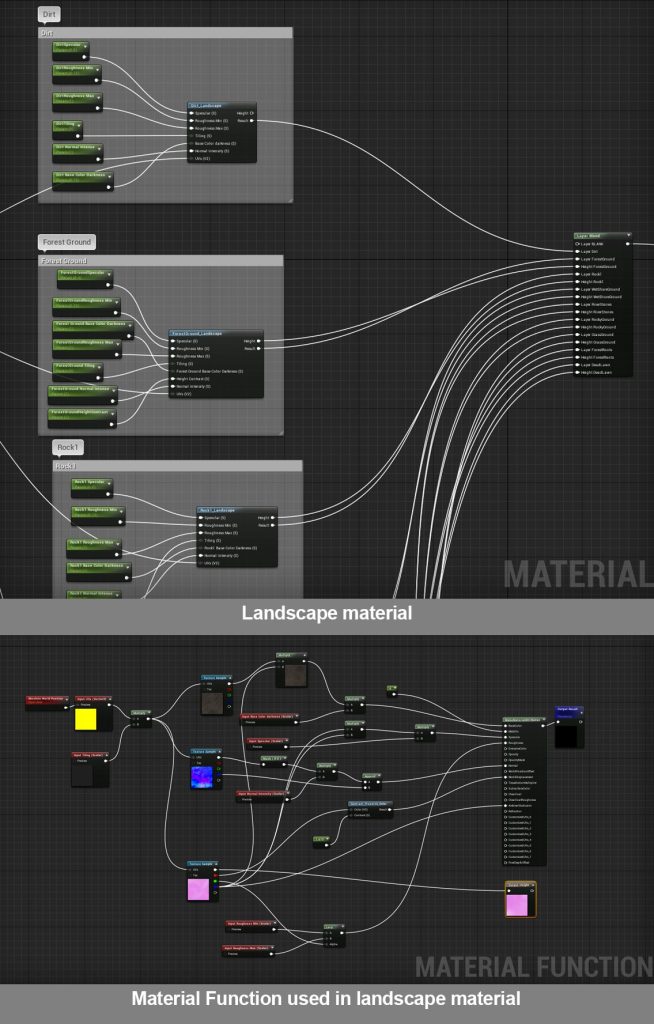
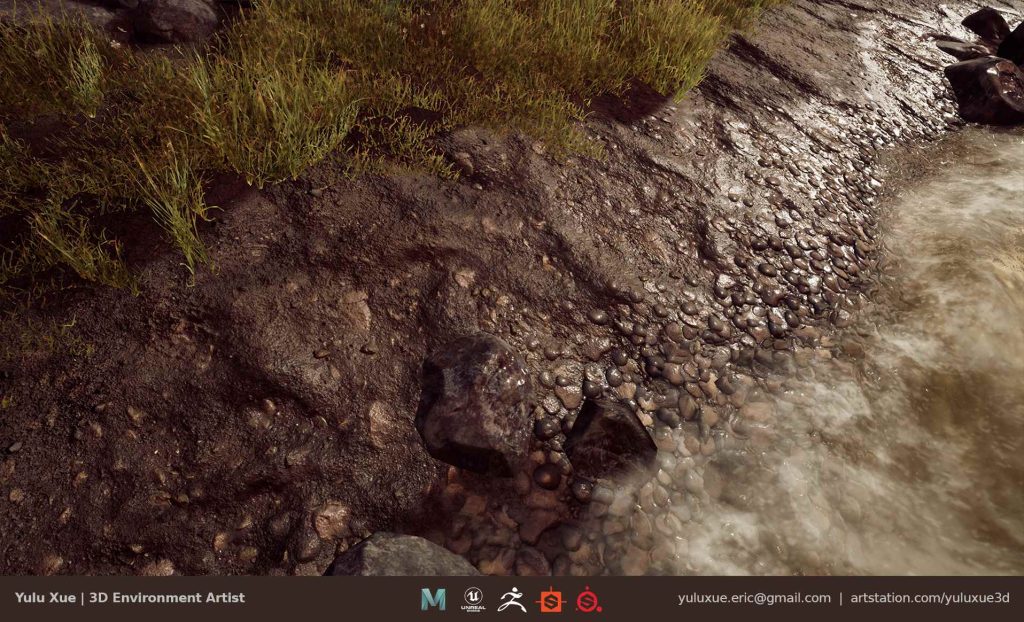
I created all my terrain textures in Substance Designer. With the power of Designer, I can adjust my textures and create variations very quickly. Within UE4, the powerful landscape material system helped me blending all the materials I made in Designer. I used heightmap to control the blending with the Landscape Layer Blend node. To make a cleaner graph, I created material functions for each layer.
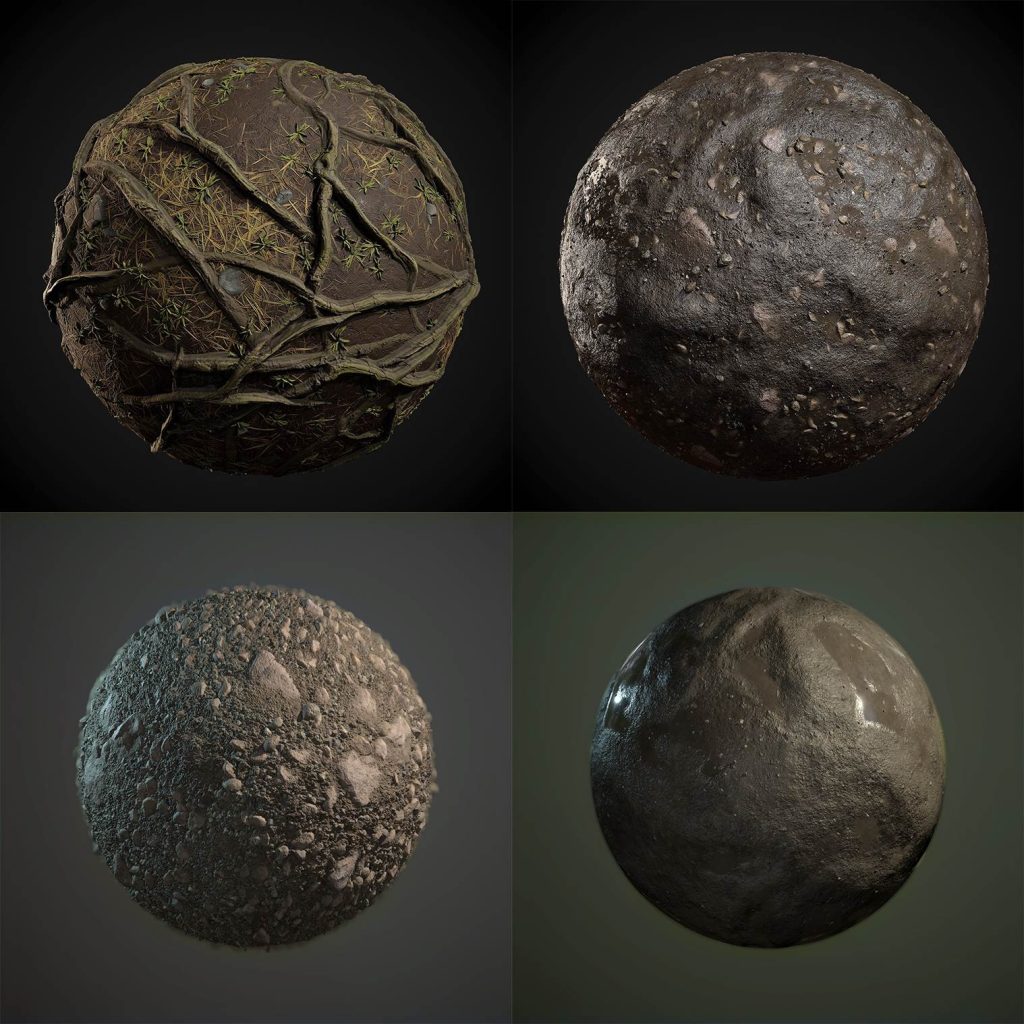
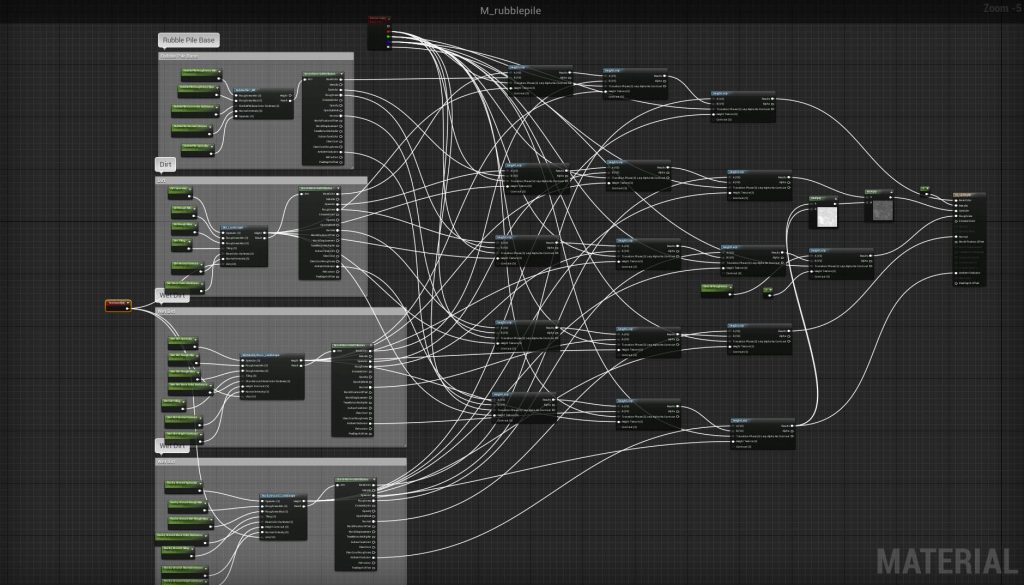
I also used vertex paint to blend materials on static meshes, so that I can have 3 different materials on one mesh. The alpha channel of the vertex paint was used to adjust darkness and roughness level of the surface. In this way, I can paint the wetness area of the surface base on the placement of the mesh.
Post-Production
I used only a skylight and a directional light in the scene. When I was constructing the scene, I set my main directional light at a neutral value of 3.1415 and kept everything else by default, based on this article by Alireza Khajehali.
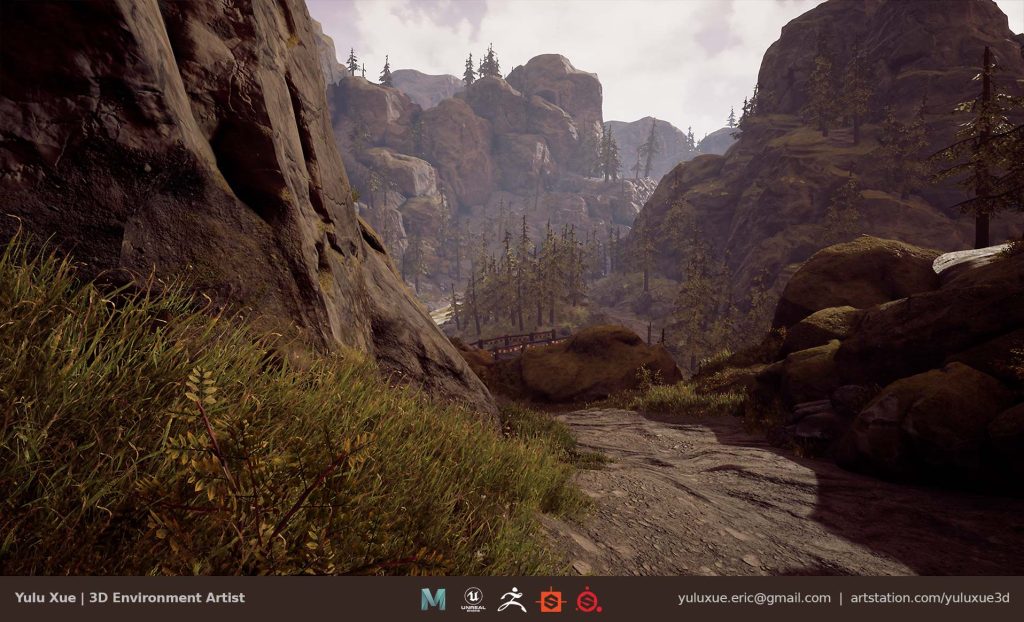
After I finished populating the environment, I started playing with the lights. I ended up with a sunset light condition that created contrast on the rocks and a nice reflection on the water surface. I also adjusted skylight intensity to brighten up the shaded areas a bit.
Final Thoughts
I love the feeling of pushing myself out of my comfort zone and learn stuff. This course contains stuff that I wanted to learn all the way from the conceptual to the technical level. Luckily, Anthony gave us a lot of useful pieces of advice that helped to overcome these challenges. By dividing references and concepts into PST, primary, secondary, and tertiary, I got a better idea of the scene that I was making. I should also point out that the weekly Q&A sessions were extremely useful to iron out the questions students had during the course.


